Kimchi isn’t for everyone. Making it at home is certainly not for everyone. But I have a confession to make. After only really trying kimchi in the last few years, I’ve become rather addicted, and I even find myself craving it. The stuff you can buy pre-made isn’t too bad, especially because Toronto has a large Asian population and its generally available at most Asian groceries, but why not make it yourself? OK so it smells. A lot. The first time I made it my basement reeked of garlicy chiliness while it fermented. And it can make your fridge kind of smelly. But that’s a small price to pay for copious amounts of kimchi at the ready, whenever that next craving hits.
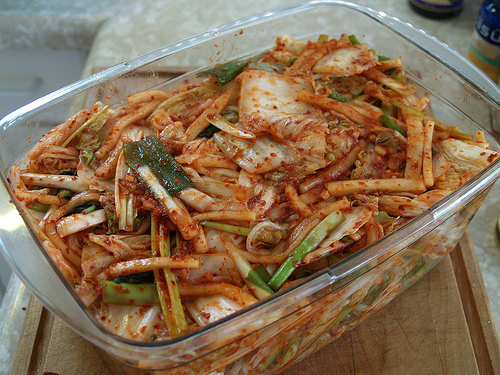
So you’ll need a few basics, like a few really good sized bowls for mixing things up, a large sturdy colander, gloves (you’ll be mixing it all together with your hands) and a large container for fermenting and storing the final product. This can be a series of containers, but I highly recommend the type with lock-down lids, since this can help reduce the odor (but I make no guarantees).
Your shopping list:
– one Chinese or nappa cabbage (the size of your cabbage will dictate how much kimchi you make), very roughly chopped
– several heads of garlic (you can get bulk peeled garlic at many Asian groceries), about 10 to 15 cloves crushed or finely diced (more or less to your taste)
– one daikon radish (optional), julienned
– a couple bunches of green onion, julienned
– about a thumb-sized piece of fresh ginger, peeled and minced
– a lot of salt, preferably sea salt, non-iodized
– about a tbsp of fish sauce
– several tbsp of Korean chili flakes
– about a tbsp of sugar
This isn’t an exact science so you can lighten up on the heat from the chili flakes or the intensity of the garlic as you please. You can also make kimchi about just about anything so the veggie ingredients are entirely flexible as well.
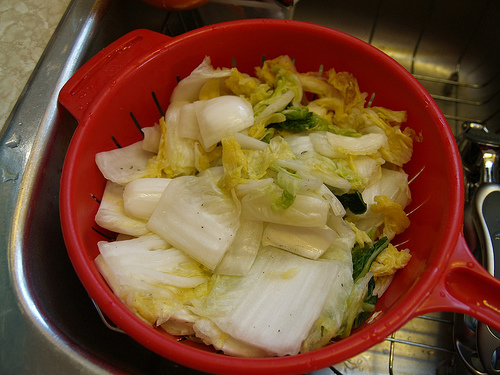
Step one is to brine the cabbage for several hours. This is done by layering your very roughly chopped cabbage in a bowl with lots and lots of salt. And I mean go crazy. Pour it on. The salt will begin to pull the moisture out of the cabbage and wilt it down. This gets the process started. It’s not unlike making sourcroute in this respect. Let this sit for several hours – 4 or 5 at least. You want the cabbage to be wilted down but the thicker pieces will still have some of their snap. Once this has happened, you can rinse the cabbage under running water to get rid of the excess salt, and then leave it to drain in the colander. You will need to squeeze out as much excess moisture as possible before combining with the other ingredients.
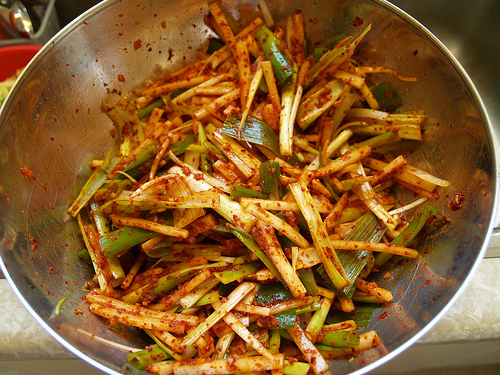
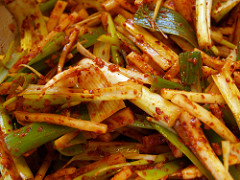
Next, combine the julienned radish, green onion, garlic, ginger, fish sauce, chili flakes, sugar and add about a tbsp of salt back into the mix. Wear your gloves to really get the mixture well combined. You want all the ingredients to kind of mash into each other. Once this is done, and your cabbage is very well drained and squeezed out, put on those gloves again and get mashing the cabbage into this mixture. This is where the really huge bowl comes in handy because things can get messy if you have a large amount.
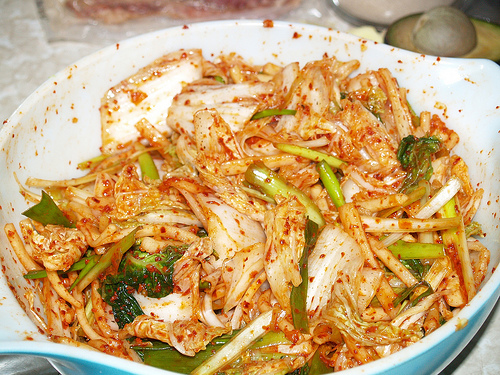
When you think you’ve mashed the chili mixture into all the crevices of cabbage its time to transfer into your final fermenting and storage container. When you do this, try to push down the mixture and force out extra air pockets, to ensure the mixture has good contact with itself. You’ll notice in the fermenting process that air bubbles will emerge and liquid will accumulate, so try not to overfill the container. Put on the lid and put the kimchi in a cool, dark place for 3 to 4 days (not the refrigerator, but a cool basement, fruit cellar, etc. will work well). After that time has passed, give it a taste. Put it in the fridge and enjoy!
To my knowledge kimchi doesn’t really expire per se, but discriminating kimchi eaters can taste “fresh” kimchi vs. “old” kimchi. There are a gazillion ways to enjoy it and use it up, if you feel its getting a bit on the old side. Some suggestions: kimchi fried rice, kimchi pancake, kimchi dumplings, etc.
Hi Sarah,
Wow. It’s amazing. Your Kimchi looks much better than mine. It must taste good, too. Mmm Yummy..
If you find some chives in the garden, you can put them in Kimchi.(Chris might know what kind of chives I am talking about.) I used them a lot when I lived in your place. In my opinion, they make Kimchi taste better.